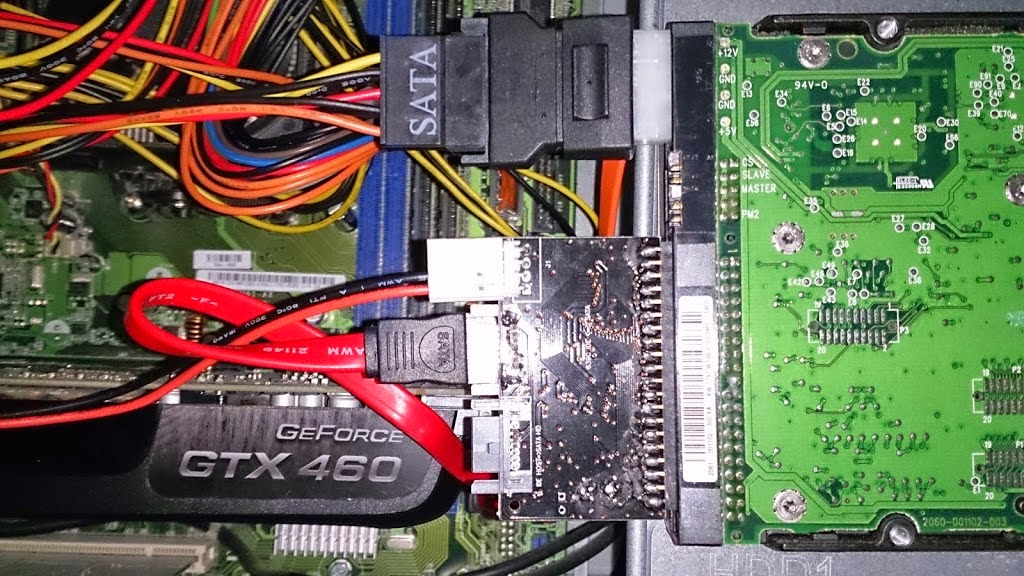
There are some things that every computer wizard just ought to have under his belt. A decent working knowIedge of IDE and SATA hard drives is one of them. While IDE is becoming increasingly rare, if you’ve ever owned an older PC or frequently do computer repair work for others chances are still good you’ll find one of these guys laying around sooner or later, and that being the case, chances are also good you’ll want to read the data off of them and perhaps even use one as your daily driver. The trouble is, very few modern manufacturer PCs ship with motherboards that even support IDE drives. But don’t worry, it doesn’t mean the end for your data. Adapting IDE to SATA is a pretty simple process—all it takes is about $10 and a little know-how.
What’s the difference?
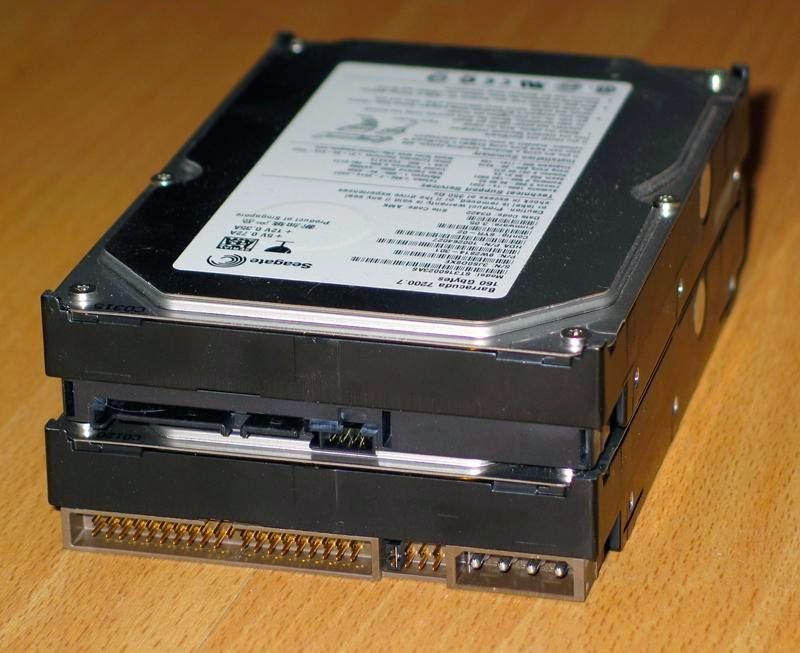
So what is this IDE and SATA business, anyway? Well, without going into the specifics, IDE is the old technology for reading and writing to a hard drive, and SATA is the new(er) kid on the block. SATA is faster, more compact, and overall just a better standard, but that’s not to say IDE drives are worthless. While they won’t win any contests for speed and storage capacity many still have plenty of life left in them and will serve you just fine for years to come. Here’s a practical example to tell the difference (top: SATA, bottom: IDE):
What do I need?
That’s it! Just those two parts, and actually, the second one may be optional depending on your situation. More on that later.
How do I do it?
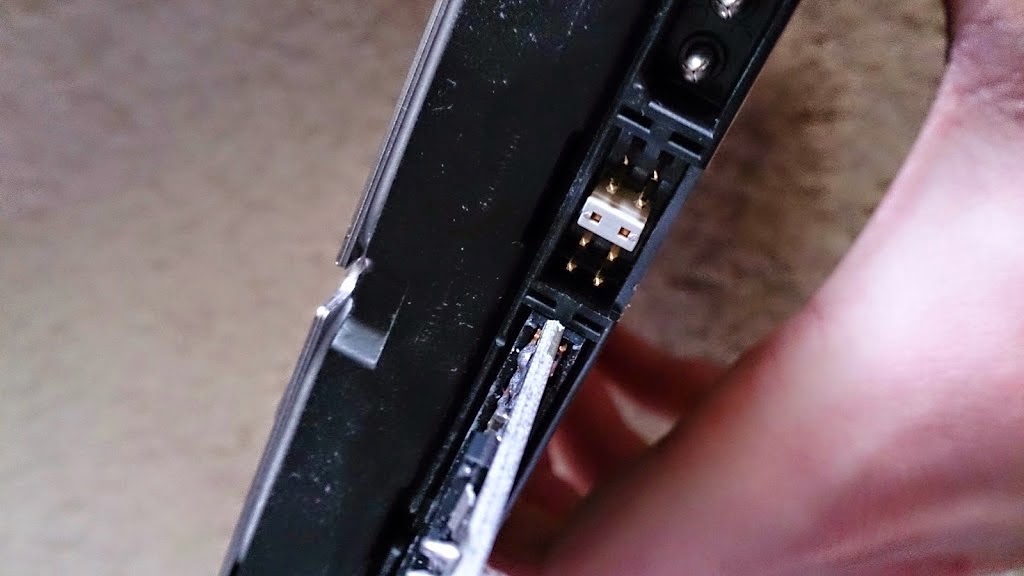
Now the fun part. But before we get into adapting anything, we’ve got to make sure our IDE drive is set up correctly to work with our adapter. For that we must jumper the drive. Don’t worry if you’ve never heard of it before—jumpering drives is a practice that went extinct with SATA. And no, you don’t need to go fetch your jumper cables from the garage to do it. IDE drives can operate in more than one mode, defined by a block of 8 pins along the back of the drive. Witness for yourself:
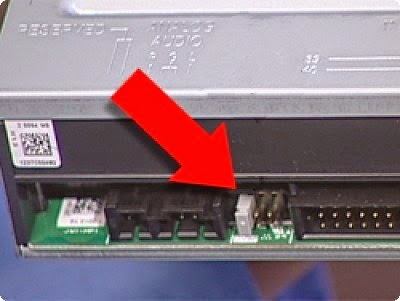
More precisely these are not 8 pins, but 4 sets of 2-pin pairs (though this can vary). And see that little white cap off to one side? That’s what sets the IDE drive’s mode. For our adapter to work, we need our IDE drive to be set to the Master mode. Refer to the bottom of your drive to find the label telling you which pins are the Master pins.
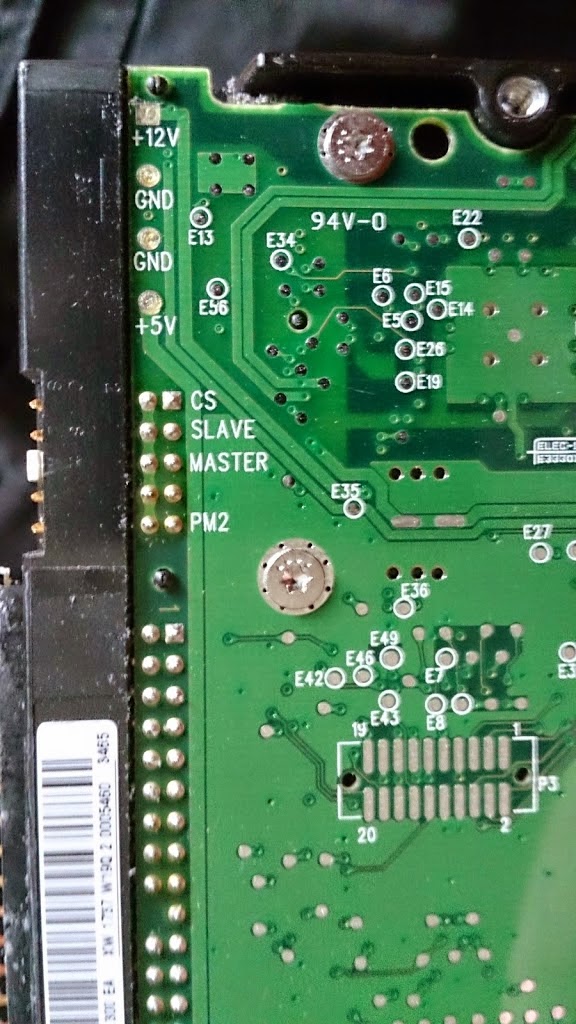
Now just carefully remove the jumper from its place and slide it back on over the Master pins. Congratulations, you just jumpered your IDE drive!
With that out of the way, the rest of the process is pretty straightforward. Our big IDE to SATA adapter plugs in where the ribbon cable would go (NOTE: IDE cables are not keyed, meaning the adapter will fit in both directions. There is a notch for guidance, but at any rate be prepared to try flipping your adapter around if at first it doesn’t work). That takes care of data transfer, but we won’t push any numbers fast without power. That’s where our little adapter comes in, plugged into the 4-pin Molex power input off to one side. Now, you don’t have to use this second adapter if your target PC’s power supply has a spare Molex connection, but even so I recommend using the Molex to SATA power adapter just so we aren’t mixing IDE and SATA standards. If you’re going to turn an IDE drive into SATA, might as well do the job right.

You’ll also notice there’s a 4-pin connection on the adapter itself, which is used to power the adapter so it can do its job translating SATA to IDE and vice-versa. This connects to an included Molex cable which in turn connects to your power supply. (Another reason why the Molex to SATA adapter on the hard drive is a good idea—overall this process requires two free Molex connections on the PSU without it.)
Once you’ve done all your plugging it’s time to close up your computer case and give the thing a whirl. Don’t be too shocked if nothing shows up on the first try. Make sure everything is connected snugly together, your SATA data cable is plugged into the correct spot on the adapter (one SATA port is for adapting a SATA drive to an IDE motherboard, which will do nothing in our case), the IDE side of the adapter isn’t backwards, and that the drive jumper is inserted correctly. It took me a few tries to get my drive recognized, when in the end I just needed to tighten a few connections. If your motherboard’s setup menu (typically accessed by pressing a given key at boot, like F1 or Delete) has any options for hard disks, you may also try switching between AHCI and IDE mode to get the drive recognized. You’ll know when you’ve succeeded, as the adapter has a power led light to confirm all is well. At that point you can rest assured that your job is done. Windows (or Linux, or OSX) will take a momoment to get things all set up for your IDE drive and then it will be yours to read/write data.
As a final note, it is worth reiterating that most any IDE hard drive out there is going to be a little gray on the noggin. If you intend to use the drive long-term, it may be wise to run a checkup just to make sure the thing isn’t about to go kaput. While to some degree getting an accurate read on the state of your drive is dependent upon what sensors are built into it, the majority of IDE drives are not too old to yield useful information. Tools like Crystal Disk Info will give you a great summary of the state of your installed drives. If yours looks bad you know it’s time to backup all that data, but in most cases I’ve been pleasantly surprised at how well old IDE tech holds up over the years. If that be the case, then you’ve just gained yourself a ‘new’ hard drive for $10. Neato, huh?


